
Hugo系列教程(Hugo tutorial)
Hugo系列教程(Hugo tutorial)
hugo介绍(introduce)
A Fast and Flexible Static Site Generator built with love by bep, spf13 and friends in Go.
一个快速灵活的静态站点生成器,由 bep, spf13 and friends用go语言编写的。
安装hugo(install hugo or hugo_extended)
安装Hugo有许多种方式,这里以通过安装包安装Hugo为例!
通过安装包(Installation package )(推荐)
从Release下载对应系统的安装包来安装
ubuntu:
| |
windows:
下载.zip解压到你想把hugo安装的路径下,把hugo安装路径添加到系统PATH变量即可
创建第一个hugo网站(Create your first website with Hugo)
你只需要运行下面几行代码就可以快速生成一个静态网站。
step1:
| |
命令解释:
hugo:hugo的根命令
new site:创建网站的命令
mywebsite:网站的名字
step2:
为你的网站添加一个主题(这是必要的,这里以LoveIt主题为例,也是我本人在用的一个主题myblog)
你可以从hugo主题网站上挑选一个你喜欢的主题来用
| |
修改网站主题基本配置
修改config.toml为下面的内容,可对照注释修改相应的配置以适合你的网站
| |
创建你的第一篇文章
| |
注意
默认情况下, 所有文章和页面均作为草稿创建. 如果想要渲染这些页面, 请从元数据中删除属性
draft: true, 设置属性draft: false或者为hugo命令添加-D/--buildDrafts参数.
在本地启动网站
| |
技巧
当你运行
hugo serve时, 当文件内容更改时, 页面会随着更改自动刷新.
注意
由于本主题使用了 Hugo 中的
.Scratch来实现一些特性, 非常建议你为hugo server命令添加--disableFastRender参数来实时预览你正在编辑的文章页面.
构建网站
| |
至此,你已经学会了hugo的基本操作。
更多关于hugo的操作,你可以访问hugo官网以及你所使用的主题文档自行查看。
将你的hugo网站部署到GitHub Page
当你构建网站是会在网站根目录下生成一个public目录,将这个目录下的文件添加到你的GitHub 仓库的gh-page分支即可。
创建一个workflow
在网站根目录下创建一个.github/workflows/hugo.yml
把我的myactions仓库下的hugo.yml内容复制粘贴到你的hugo.yml,根据注释进行修改即可。
在GitHub上创建一个存放网站源代码的私有仓库
| |
在GitHub上创建一个你的GitHub账号用户名.github.io并设为公开仓库
创建ssh部署秘钥
Generate your deploy key with the following command.
用下面的命令生成ssh秘钥。
| |
Next, Go to Repository Settings
- Go to Deploy Keys and add your public key with the Allow write access
- Go to Secrets and add your private key as
ACTIONS_DEPLOY_KEY
Add your public key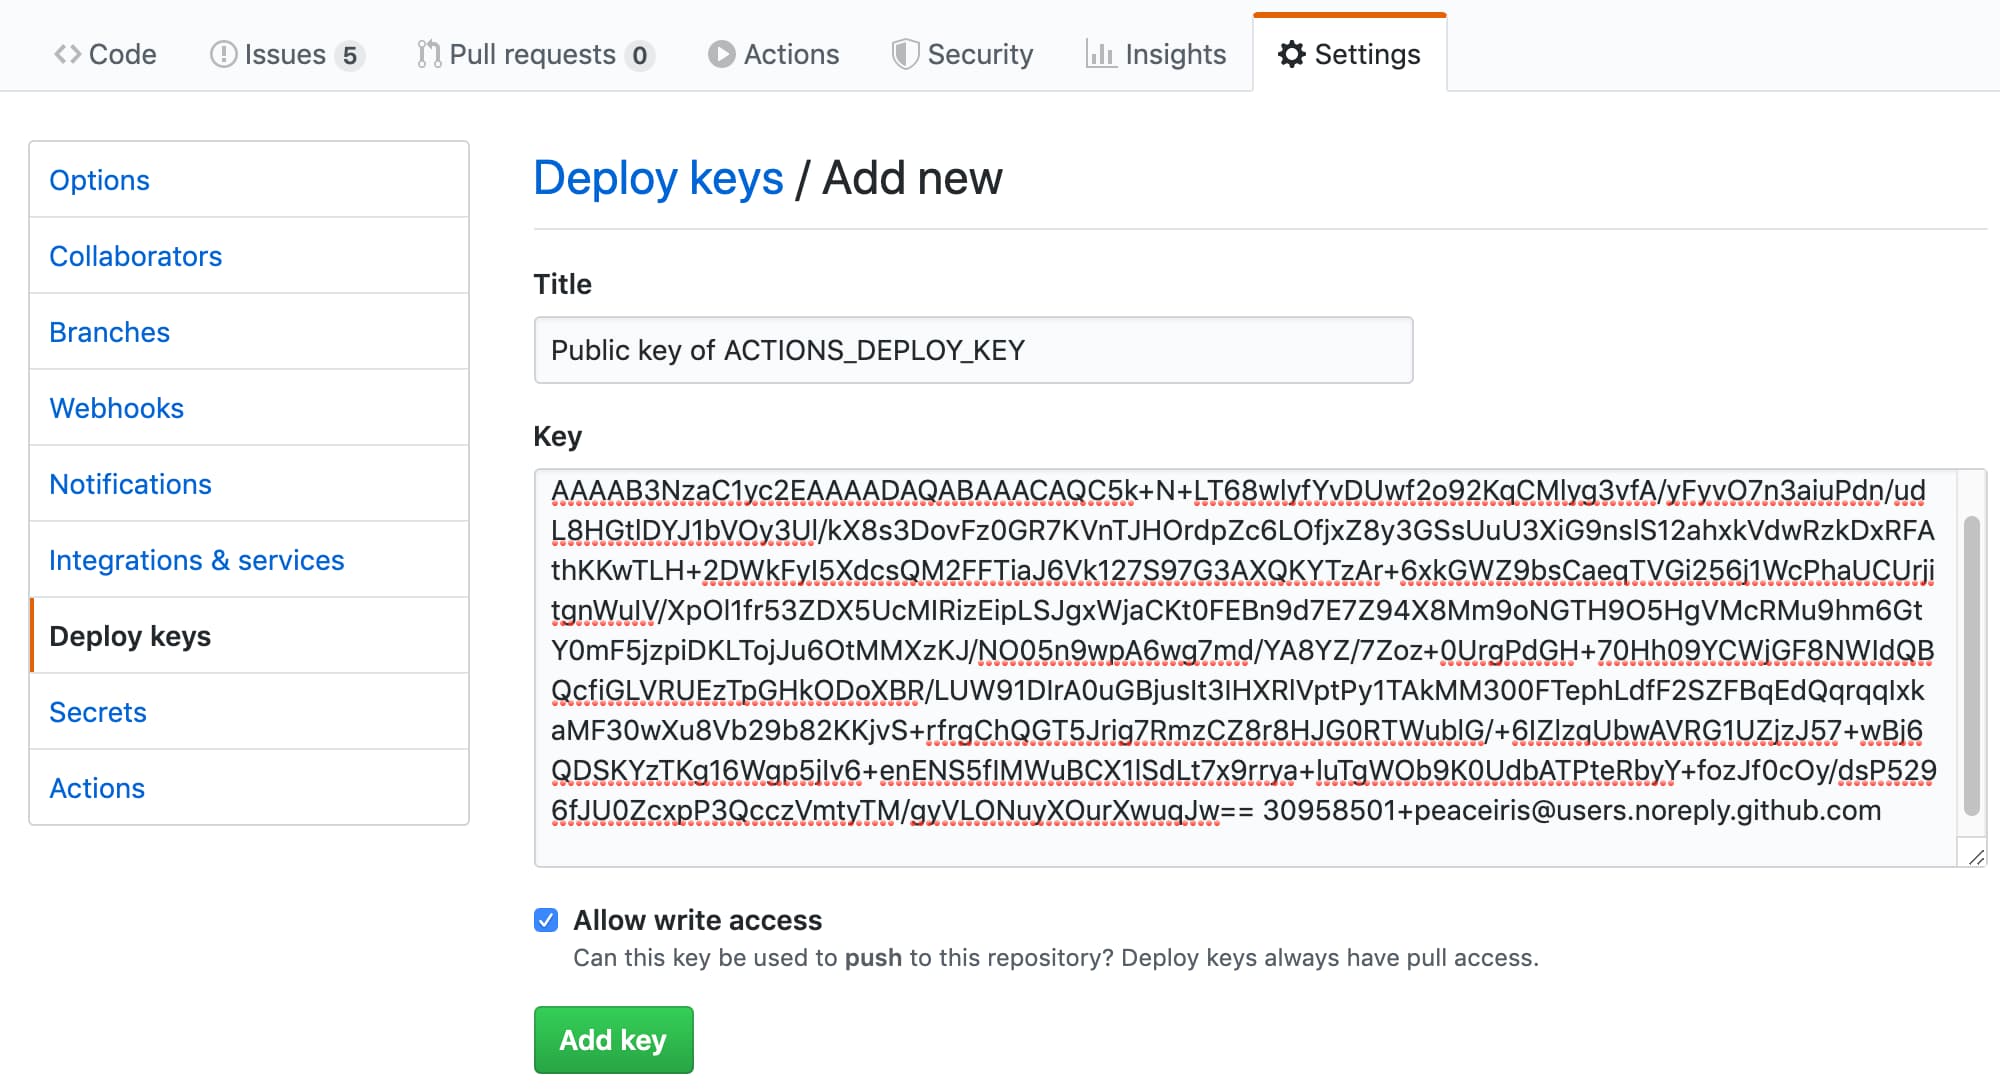
Success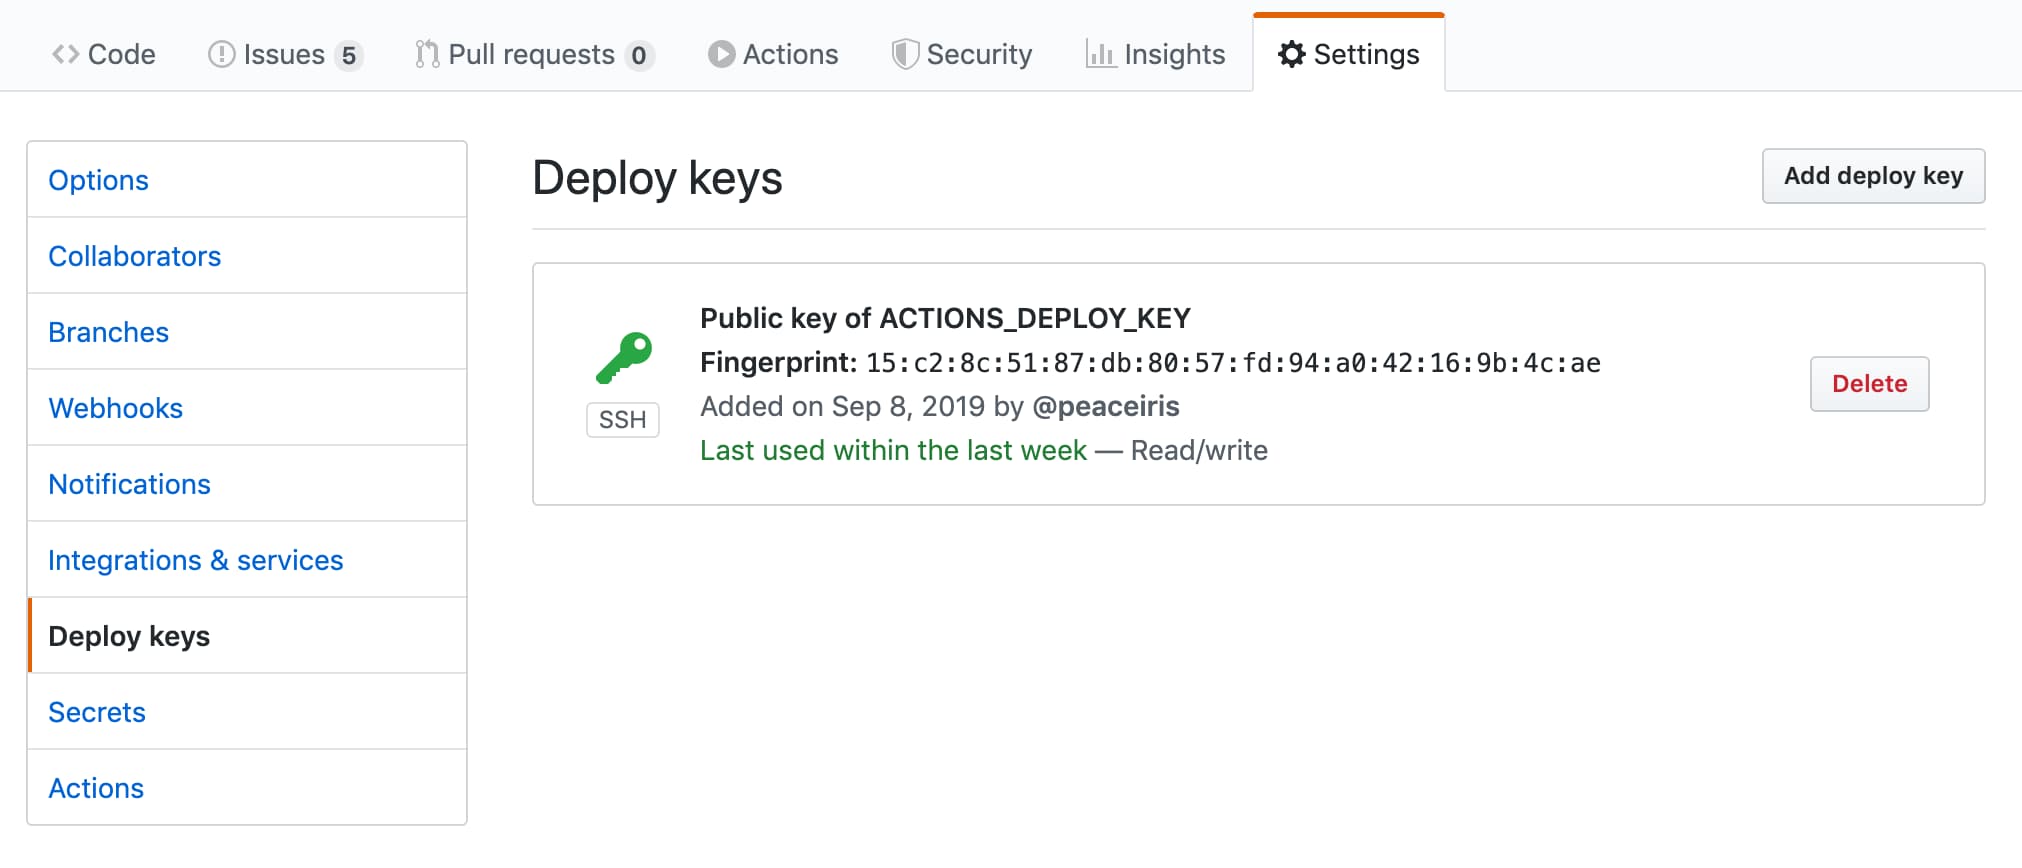
Add your private key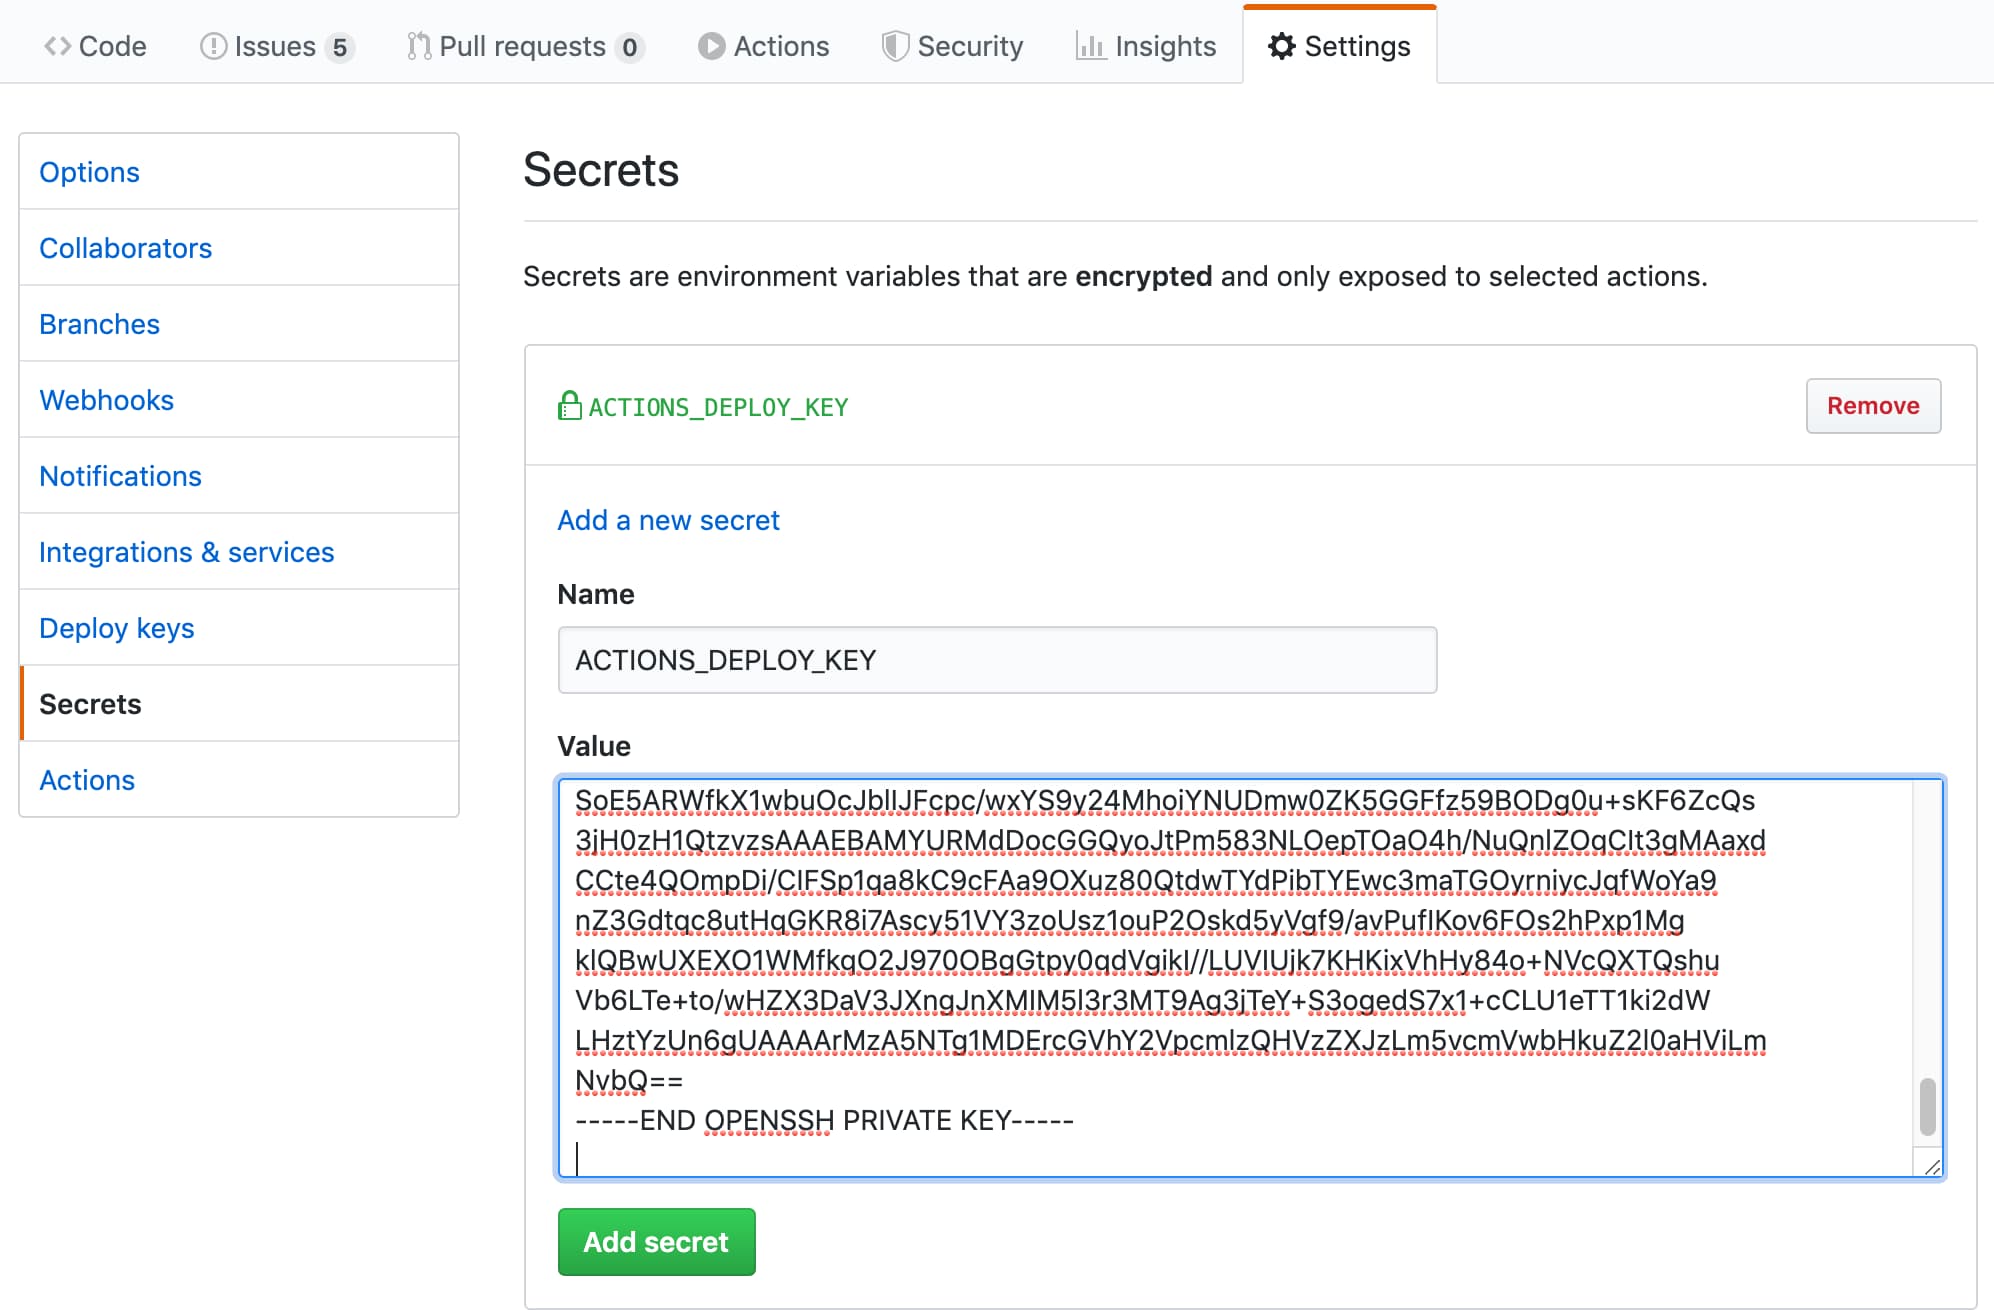
Success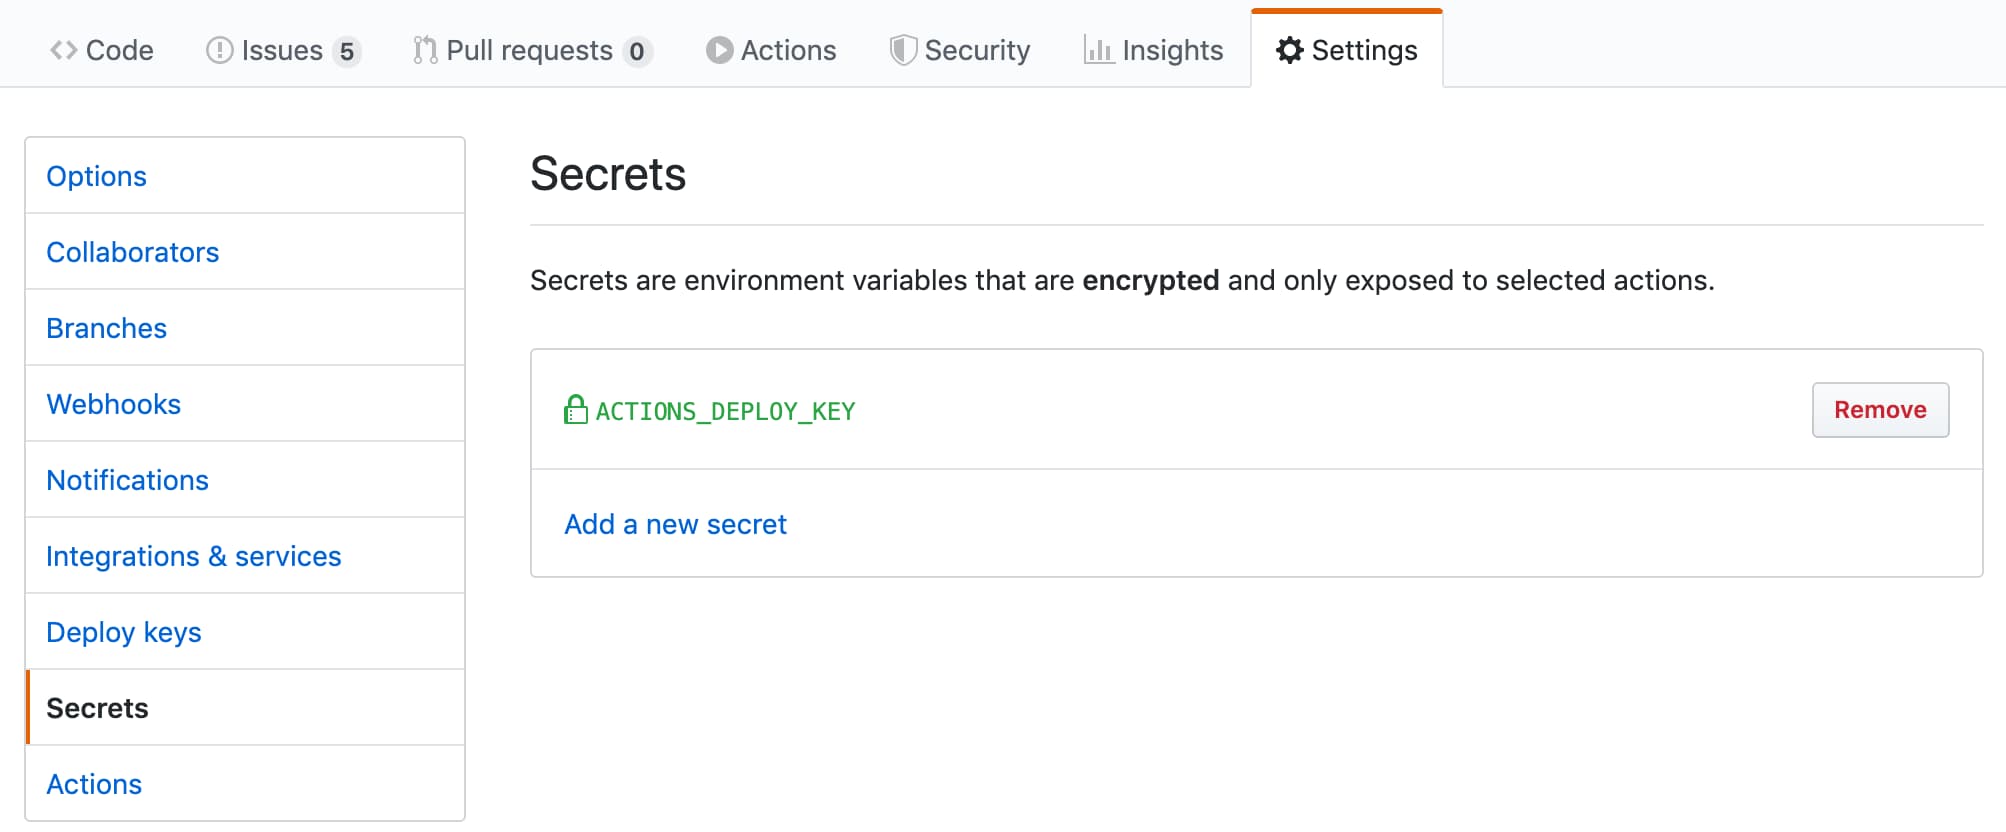
推送源码到源码仓库(push)
在本地hugo网站根路径执行下面的代码
| |
稍等片刻,通过访问https://你的GitHub账号用户名.github.io即可访问到你的网站。
大功告成!
以后更新文章只用在本地写好文章之后执行一下命令即可自动更新博客!
| |
Thanks
 支付宝
支付宝 微信
微信